Hi Everyone! We are finally back after a Christmas break, and already in 2020!
We hope 2019 was a good year for everyone, and let’s make 2020 even better photographically 🙂
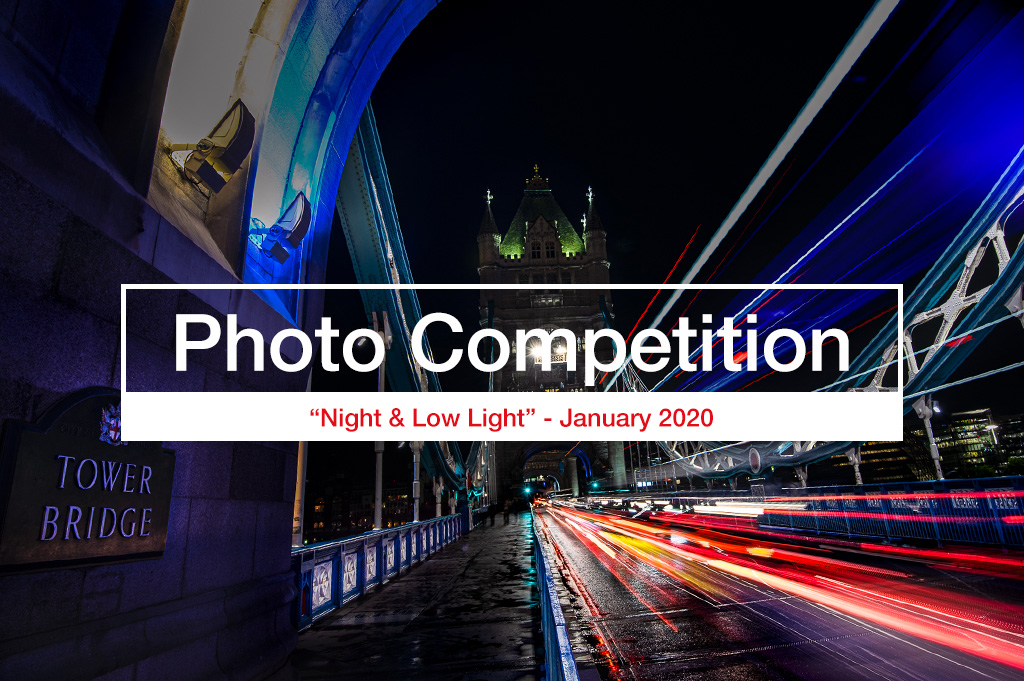
For our January/February competition, I suggested “Night & Light Photography” theme.
January and February are not the warmest, but it gets dark very early, like today, the sunset is at 4:23pm, so if you don’t want to wander on your own at night, you can start taking pictures as early as 5-6pm.
Or even earlier. The Golden Hour is 15:27-16:47, and Blue Hour 16:47-17:01. I use an app called GoldenHour.One where I can see all the data – like the sunset, sunrise, the moon, etc.. Even the Sky Index which will indicate how much/little light there is going to be, some predictions for weather conditions, and photo opportunities.
Ideally for the sunset you would want to have some clouds – and there is an app for that! Search for Clear Outside.
A perfect little app if you want to check the clouds coverage, visibility, fog, rain, wind, temperature etc…
Say if you’d like to take a picture for a Tower Bridge or a cityscape – its reflection in the Thames, there has to be no wind or very light wind, to cause no waves.
Or if you are after moody pictures and you want reflections of city lights on the pavements – these have to be wet – so we need a rainy evening… and one of these apps can help you with that.
Taking pictures in the evening / at night, is more technically challenging, but can be more rewarding. You can get really nice effects by playing with long(-er) shutter speeds (trying creative techniques like ICM – just shake your camera a bit 🙂 , walking with your camera, zooming-in/out, spinning, or capturing cars light trails – tripod needed), or freezing motion and testing your camera capabilities in various ISO settings. It makes a great practice and is the fastest way to improve your photography skills!
Remember since there will be “little” light – if you want to “freeze” action – you might need to boost your ISO setting to 400/800/1600 depends on what your meter will show you – to “bring the needle to the middle”.
On the other hand if you are using long exposure – you want to get the creative blur or subject is not moving – it is always best to use default ISO setting 100. Remember the smaller the ISO number – the better quality your picture is going to be.
Another little tip. In order to let as much light as possible, you might want to open up your aperture to the maximum. However, if in your scene is a lamppost, a strong source of light, I would recommend trying something like f/8 or f/11 or more – for the “star” effect.
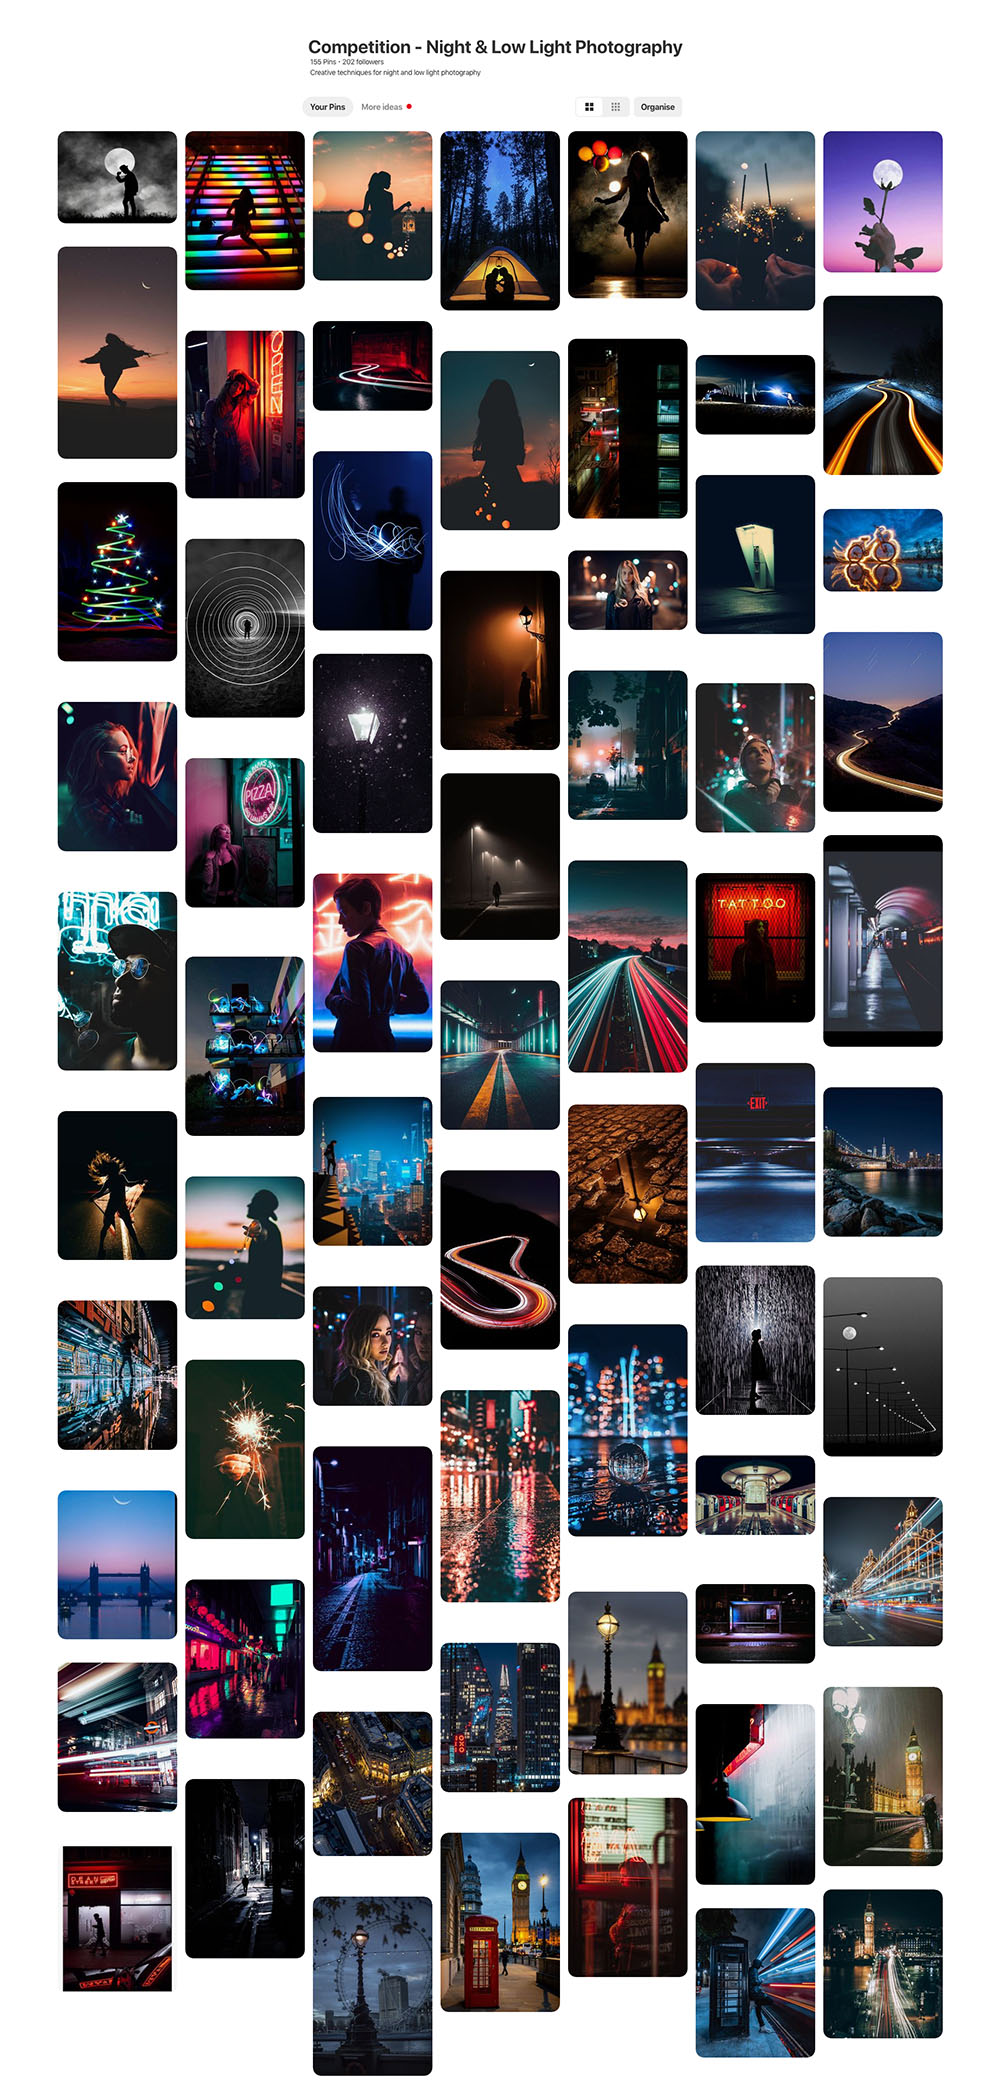
Ok, as always, I created for you a Pinterest board, but you are the artist, get creative!
The winner will receive £50 in our course vouchers. Please submit a maximum of three of your best pictures. We’ll choose the winner and publish a selection of our favourite images.
We are looking forward to seeing your entries!!!
Remember that the winner will receive £50 in course vouchers. Please submit maximum three of your best pictures. We’ll choose the winner and publish a selection of our favourite images.
We are looking forward to seeing your entries!!!
It is easy to enter, and the competition is open to everyone. Entry closes on 29th February 2020.
Your pictures should be saved as jpg files and not bigger than 3MB. Remember to name your files e.g. katesmith1.jpg
Please email your best pictures (3 max) to [email protected]
We will notify the winners on 15th March 2020.
